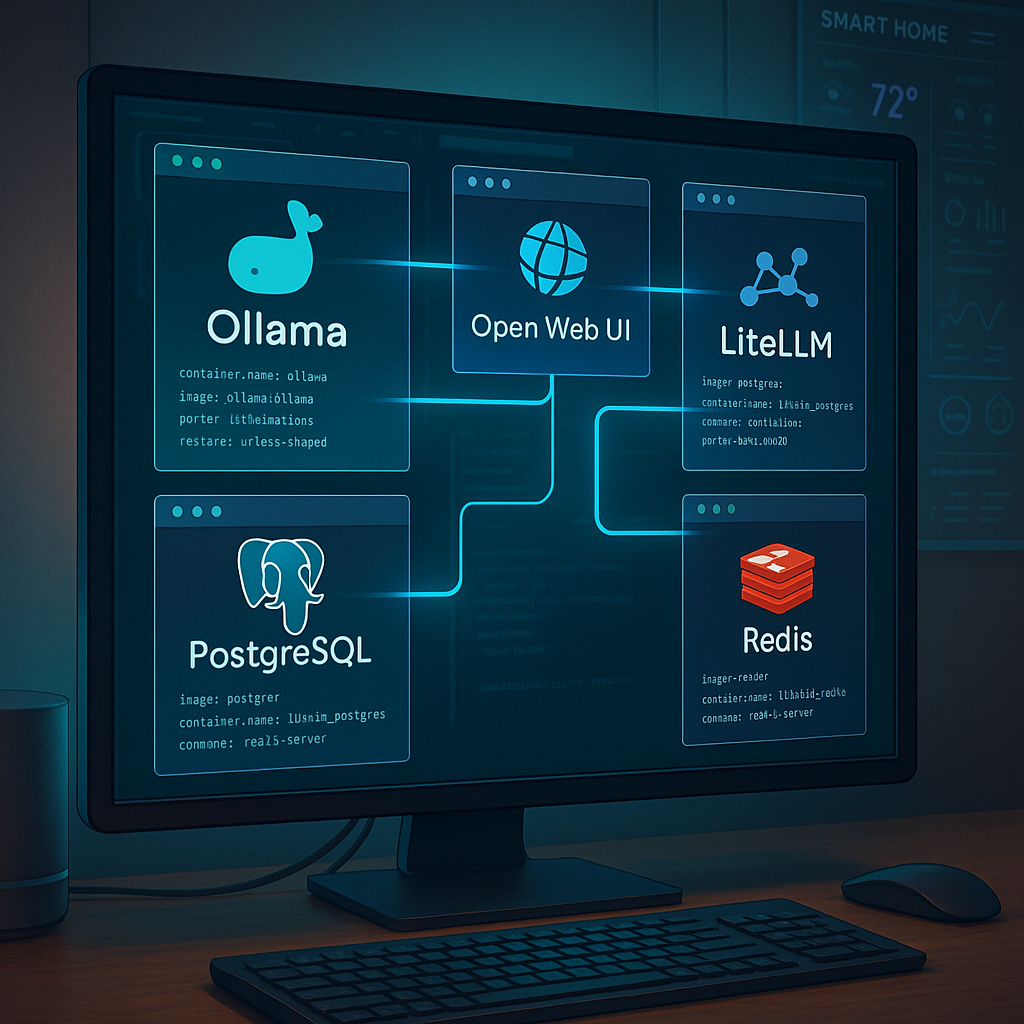
DockerにOllama、Open Web UI、LiteLLMをインストールするためのステップバイステップガイド
⚙️ このガイドが重要な理由
SDockerを使ってOllama、Open Web UI、LiteLLMを使ったAI環境を構築するのは、ドキュメントが散在していたり、サンプルが古くなったりして、なかなか難しいものです。この包括的なガイドでは、すべての手順を分かりやすく解説することで、この問題を解決します。AI統合に関するより詳しい情報については、こちらの記事をご覧ください。 AI搭載スマートホームオートメーション.
📦 前提条件とシステム設定
Dockerのセットアップを始める前に、DockerとDocker Composeがインストールされていることを確認してください。特に永続ボリュームをマウントする場合は、十分なディスク容量を確保してください。このガイドは、ターミナルの使い方とYAMLに関する基本的な知識を前提としています。スマートテクノロジーのセットアップが初めての方は、実践的なガイドから始めてください。 DIY自動化ガイド.
🧠 ステップ1: Ollamaコンテナをデプロイする
Ollamaは、ローカルで大規模な言語モデルを提供できるセルフホスト型ソリューションです。Docker Composeファイルに以下のコードを追加してください。
サービス:
  オラマ:
    コンテナ名: ollama
    画像: ollama/ollama
    ポート:
      - '11434:11434'
    再起動: 停止しない限り
    ボリューム:
      - ./ai-server/ollama-openwebui/ollama/:/root/.ollama
これはモデルデータを永続化するためにマウントします。より効率的なローカル設定については、 スマート環境向けのローカルAI処理.
🌐 ステップ2: Open Web UIを構成する
Open Web UIを使用すると、ブラウザインターフェースでモデルを操作できます。認証情報とAPIベースを適切に定義してください。
オープンウェブUI:
  コンテナ名: openwebui
  依存:
    - litellm
  環境:
    - LITELLM_API_BASE=http://litellm:4000
    - LITELLM_MASTER_KEY=マスターキー
    - WEBUI_SECRET_KEY=あなたの秘密のキー
    - ENABLE_AUTH=true
    - DEFAULT_USERNAME=admin
    - デフォルトパスワード=admin123
  ポート:
    - '10000:8080'
これをより広範なホームオートメーションダッシュボードに統合することに興味がある場合は、それがどのように適合するかを学びます。 ホームアシスタント.
🐘 ステップ3: LiteLLMにPostgreSQLを追加する
LiteLLMは、プロンプト、レスポンス、分析などのデータをPostgreSQLデータベースに保存します。以下のように設定します。
litellm_postgres:
  画像: postgres:latest
  コンテナ名: litellm_postgres
  環境:
    POSTGRES_DB=litellmdb
    POSTGRES_USER=litellmuser
    POSTGRES_PASSWORD=パスワード
  ボリューム:
    - /mnt/ストレージシステム/ローカルストレージ/アプリケーションデータ/ai-server/litellm/postgres:/var/lib/postgresql/data
  ポート:
    - '5432:5432'
永続ボリュームを使用すると、コンテナの再起動時にデータベースが失われることはありません。データベース統合に関するその他のヒントについては、 カスタム自動化ソリューション.
⚡ ステップ4: パフォーマンス向上のためにRedisを統合する
LiteLLMでは、高速なデータキャッシュとジョブキューイングのためにRedisを使用しています。設定は簡単です。
litellm_redis:
  画像: redis:latest
  コンテナ名: litellm_redis
  コマンド: redis-server --requirepass your_redis_password
  ボリューム:
    - ./ai-server/litellm/redis:/data
  ポート:
    - '6379:6379'
これにより、応答速度とシステム効率が大幅に向上します。スマートなパフォーマンスチューニングの詳細については、 スマートテクノロジーの革新 アーカイブ。
🧬 ステップ5: LiteLLM Coreをデプロイする
LiteLLM はデータベースと Redis を接続し、推論と API アクセスのバックエンド エンジンとして機能します。
litellm:
  画像: ghcr.io/berriai/litellm-database:main-stable
  コンテナ名: litellm
  依存:
    - litellm_postgres
    - litellm_redis
  環境:
    - DATABASE_URL=postgresql://litellmuser:your_password@litellm_postgres:5432/litellmdb
    - REDIS_HOST=litellm_redis
    - REDIS_PASSWORD=あなたのRedisパスワード
    - LITELLM_MASTER_KEY=マスターキー
    - SALT_KEY=ソルトキー
  ポート:
    - '4000:4000'
  ボリューム:
    - ./ai-server/litellm/config.yaml:/app/config.yaml
  コマンド: --config /app/config.yaml --detailed_debug
特定の家族やライフスタイルのニーズに合わせてAIシステムを構築している場合は、他の人がどのように活用しているかをご覧ください。 ホームオートメーションソリューション.
🧪 セットアップのテストと検証
すべてのコンテナが起動したら、 http://localhost:10000 デフォルトのユーザー名とパスワードでログインしてください。APIエンドポイントはcurlまたはPostmanを使用してテストできます。完全なセットアップテストとカスタムデプロイメントのユースケースについては、こちらをご覧ください。 DIYチュートリアルセクション.
よくある質問
❓このスタックで LiteLLM は何をするのでしょうか?
LiteLLMは、異なるLLMへの呼び出しをプロキシし、ログ記録、使用制限、分析などの機能を追加します。複数のモデルタイプを1つの統合APIでルーティングするのに最適です。
❓OllamaはGPUなしでも動作しますか?
はい、CPUでも動作しますが、推論速度は遅くなります。GPUの有無にかかわらずパフォーマンス向上のヒントについては、詳細な記事をご覧ください。 ホームオートメーションのセットアップトレンド.
❓Open Web UI は必須ですか?
いいえ、オプションですが、特に API やコマンドライン ツールに慣れていない人にとっては、操作を容易にするために推奨されます。
❓モデルはどこに保存されますか?
モデルはOllamaコンテナにマウントされたボリュームに保存されます。 /root/.ollamaマシン間でバックアップしたり再利用したりできます。
❓使用状況とログを監視できますか?
はい、使います dockerログ またはログ転送システムを構築します。高度な監視については、以下をご覧ください。 スマート診断の製品機能.


